Choosing the right Orthodontic Kit can feel simple until the details matter. A neat case and low price do not guarantee safe, useful products. Materials, tool design, sizing, hygiene, and supplier support deserve careful attention. A kit may look professional online yet feel uncomfortable or poorly finished in real use.
This guide shares seven practical tips for making a more informed choice. It considers whether the kit matches your purpose, such as training, professional practice, or basic care under dental supervision. It also examines product descriptions, medical-grade materials, sterilization guidance, packaging quality, and transparent manufacturer information. Reliable sellers should explain what each instrument does and how it should be cleaned.
Small details matter.
A loose mirror handle can affect control. Blunt edges may create frustration. Missing instructions can create unnecessary risk. Buyers should also check whether replacement parts are available and whether the supplier offers responsive customer support. Certifications can be helpful, but they should be verified rather than accepted blindly.
No kit is perfect.
Even a well-reviewed Orthodontic Kit may not suit every user or clinical situation. Personal experience, professional training, and advice from a qualified orthodontist remain important. This article does not replace diagnosis or treatment. Instead, it offers a practical framework for comparing options with greater confidence, while recognizing that convenience and quality do not always appear together. A careful purchase may take longer, but it can prevent wasted money and avoidable disappointment.
Purpose changes everything when choosing an orthodontic kit. A prevention kit may support daily oral care around braces, retainers, or crowded teeth. It should include gentle cleaning tools, a small mirror, interdental aids, and clear instructions. Avoid kits that promise to straighten teeth without professional assessment. Tooth movement depends on bone, roots, bite, and individual growth.
An adjustment kit serves a different role. It may contain wax, replacement ligatures, or tools for minor comfort needs. Patients should not use instruments to tighten wires or move brackets at home. That can damage enamel, soft tissue, or the treatment plan. Small details count. Check whether each item has sealed packaging, readable instructions, and suitable materials. Some low-cost tools look practical but feel rough against the gums.
Clinical orthodontic kits require a higher standard. They should support trained professionals, not replace them. Look for documented material quality, precise instrument design, cleaning compatibility, and traceable manufacturing information. Reusable instruments need validated sterilization procedures and regular inspection. Disposable items should remain intact until use. Local regulations also matter, especially for instruments used in patient care. Experienced teams usually match the kit to the procedure, patient age, and clinic workflow. A kit can still be well made yet unsuitable for a specific case. That is where careful review matters. My own buying checklist would include purpose, user training, hygiene requirements, and evidence behind every claimed benefit. A neat case alone proves very little.
A reliable orthodontic kit starts with verifiable regulatory information. Check the exact product model in the official FDA database when FDA clearance applies. Do not rely on a logo or a seller’s screenshot. FDA clearance supports a specific intended use, not every possible use. The clearance number should match the packaging, instructions, and product description. Ask for current documentation if details appear inconsistent.
Look for ISO 13485 certification, but read its scope carefully. The certificate should cover the relevant design, manufacturing, or distribution activities. An expired certificate means little. Neither does a certificate issued for unrelated products. This detail is easy to miss. Check the certificate issuer, validity dates, and facility address. Traceable lot numbers, clear instructions, and responsive technical support also suggest stronger quality control.
Material safety deserves close attention because instruments and components may contact skin or oral tissue. Request biocompatibility evidence, such as applicable ISO 10993 testing, for polymers, adhesives, elastomers, and coatings. Confirm whether metal parts contain nickel or other substances that may concern sensitive users. Review sterilization claims, packaging integrity, and expiration dates. “Medical grade” sounds reassuring, but it is not a complete safety assessment. I once overlooked the difference between a material certificate and finished-product testing; that distinction can change the buying decision. Have a qualified dental professional review the kit before clinical use. Never select equipment based only on a low price or attractive presentation.
7 Tips for Buying the Best Orthodontic Kit?
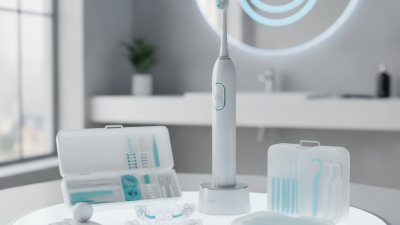
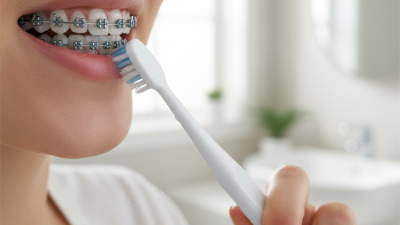
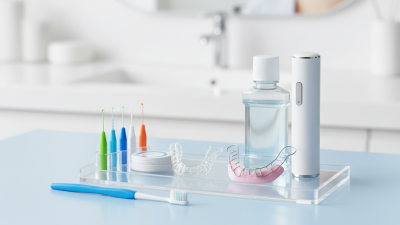
The American Association of Orthodontists represents care shaped by millions of orthodontic patients. That scale highlights a practical truth: kits should support daily hygiene, not merely look complete. Compare the contents with common treatment needs. A soft-bristled toothbrush protects brackets and irritated gums. Fluoride toothpaste supports enamel protection. An interdental brush helps clean around wires. Floss threaders make tight spaces easier to reach. Orthodontic wax can cover a sharp bracket edge. A small mirror improves visibility. A ventilated travel case keeps tools cleaner between uses.
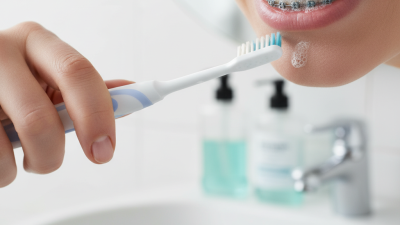
Check the details carefully. Bristles should feel gentle, not stiff. Interdental brushes need several sizes, because gaps differ. Floss should slide without forcing it under the wire. A timer can encourage two-minute brushing, especially for younger patients. Ask whether replacement heads are available and whether instructions are clear. I once overvalued a crowded kit; more tools did not create better care. That mistake still matters. Patients with implants, allergies, sensitive gums, or complex appliances may need different products. The treating orthodontic professional should confirm those choices. A kit cannot replace examinations, professional cleaning, or personalized advice. Look for durable packaging, readable directions, and realistic claims. Fancy extras are optional. Daily usability is not.
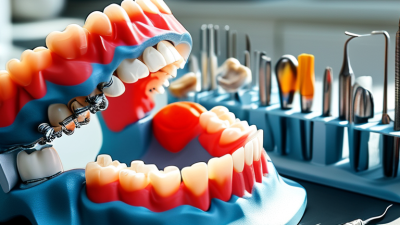
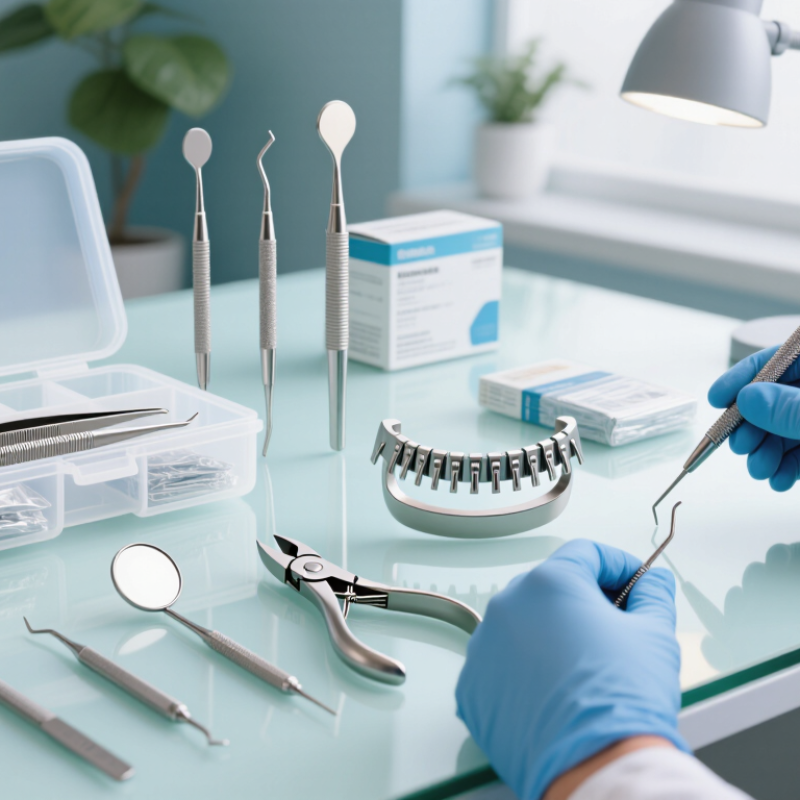
Buying an orthodontic kit starts with precision, not the number of instruments. Inspect tips under bright light. They should meet evenly, move smoothly, and show no rough edges. A millimeter of play can make delicate handling frustrating. Choose calibrated measuring tools when accurate spacing matters. Ask the supplier for material specifications and quality-control records. These details support a more reliable purchase. Yet paperwork alone is not proof.
Ergonomics becomes obvious after repeated handling. Hold each instrument as if working beside a patient chair. Rounded grips reduce pressure during long appointments. Balanced weight helps prevent wrist fatigue and sudden slips. Check whether locking mechanisms open without excessive force. Small hinges should feel controlled, not loose or sticky. I once favored a compact kit, then noticed its narrow handles caused hand strain. That mistake changed how I compare comfort.
Sterilization deserves the same attention as precision. Confirm that every reusable item tolerates the intended cleaning and sterilization cycle. Look for clear instructions, corrosion resistance, and accessible surfaces. Deep grooves can hide debris. Disposable components should be clearly identified and separated. Reusability is valuable only when instruments remain accurate after repeated processing. Review service-life data, inspection guidance, and replacement availability. A secure case should prevent tips from touching. Before purchase, ask an experienced orthodontic professional to assess the set in person. Their feedback may expose weaknesses that photographs conceal.
| Tip | Assessment Dimension | Practical Data or Benchmark | What to Check Before Purchase | Warning Signs |
|---|---|---|---|---|
| 1 | Tool Precision | Working tips should meet evenly and close smoothly without lateral offset, visible gaps, or excessive play at the joint. | Test the instrument on orthodontic wire sizes specified in its instructions. Confirm that cutting edges produce a clean cut without crushing or deforming the wire. | Uneven jaws, rough movement, inconsistent cutting, chipped edges, or a hinge that becomes loose during use. |
| 2 | Ergonomics and Handling | A balanced handle, smooth spring action, and textured grip can reduce unnecessary hand force and improve control during repetitive procedures. | Hold each tool in a gloved hand. Check reach to the working end, spring resistance, handle comfort, and whether the grip remains secure when wet. | Sharp handle edges, slippery surfaces, excessive spring tension, poor balance, or restricted finger clearance. |
| 3 | Material and Corrosion Resistance | Reusable dental instruments are commonly manufactured from corrosion-resistant stainless steel; corrosion resistance depends on alloy, surface finish, cleaning, and sterilization conditions. | Request the material specification and inspect the finish for pits, discoloration, burrs, and scratches. Confirm compatibility with the clinic’s cleaning chemistry. | No material information, rust after routine processing, rough welds, deep scratches, or flaking surface treatment. |
| 4 | Sterilization Compatibility | Steam sterilization cycles commonly use 121 °C or 132–135 °C, but the correct exposure time, drying time, and load configuration must follow the instrument manufacturer’s validated instructions. | Verify that the kit has clear cleaning, packaging, sterilization, and drying instructions. Check compatibility with the facility’s autoclave and instrument washer. | Only vague “autoclavable” wording, no validated cycle information, trapped water, dissimilar-metal corrosion, or handles that degrade under heat. |
| 5 | Cleaning and Debris Access | Open joints, smooth surfaces, and accessible hinges are easier to clean than enclosed cavities or complex crevices. Instruments should be cleaned promptly after use to prevent drying of bioburden. | Open and close hinged instruments while inspecting the joint. Confirm whether manual brushing, ultrasonic cleaning, or automated washing is permitted. | Narrow inaccessible gaps, permanent debris at the hinge, porous materials, or cleaning instructions that do not address visible contamination. |
| 6 | Reusability and Service Life | A reusable instrument should have defined inspection, maintenance, and retirement criteria. There is no universal number of sterilization cycles because service life varies by design, use, cleaning, and processing. | Ask for maximum validated cycles, lubrication requirements, sharpening or repair options, spare-part availability, and documented end-of-life indicators. | No maintenance guidance, disposable components presented as reusable, rapid loss of alignment, or inability to identify damaged instruments. |
| 7 | Traceability, Packaging, and Kit Completeness | A complete kit should identify each instrument, its intended application, processing status, and replacement requirements. Packaging should protect working edges and allow inspection before use. | Compare the contents list with the planned procedures. Look for readable markings, lot or model identification, protective storage, and instructions for use in English. | Missing instruments, illegible markings, unprotected tips, incomplete instructions, or packaging that prevents visual inspection. |
The purchase price is only the opening number. Calculate total cost over three years: kit price, warranty coverage, replacement parts, sterilization, repairs, and staff time. A simple spreadsheet can expose hidden costs.
For example, a $420 kit with $90 annual maintenance and $160 of replacement instruments costs $850 before shipping. That difference matters.
The American Dental Association Health Policy Institute reported U.S. dental spending of about $167.9 billion in 2022. This figure shows how strongly equipment decisions affect a large clinical economy.
The World Health Organization’s Global Oral Health Status Report estimates that oral diseases affect nearly 3.5 billion people worldwide. Demand is substantial, but budgets still require discipline.
Read the warranty carefully. Check coverage length, exclusions, turnaround time, and whether repeated repairs trigger replacement. A two-year warranty may exclude corrosion caused by cleaning chemicals. That is an easy detail to miss.
The FDA’s guidance on reusable medical devices stresses validated cleaning, disinfection, and maintenance processes. Ask whether the kit’s materials tolerate your actual sterilization cycle.
Record replacement intervals from the supplier, then compare them with published maintenance instructions and your clinic’s usage volume.
One weak assumption remains: projected repair costs can change sharply when instruments are used daily. Allow a contingency reserve, perhaps 10% to 15%, and review the calculation after six months.