How to Choose the Right Orthodontic Kit in 2026?
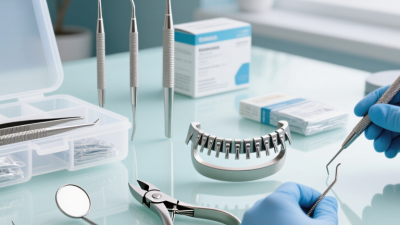
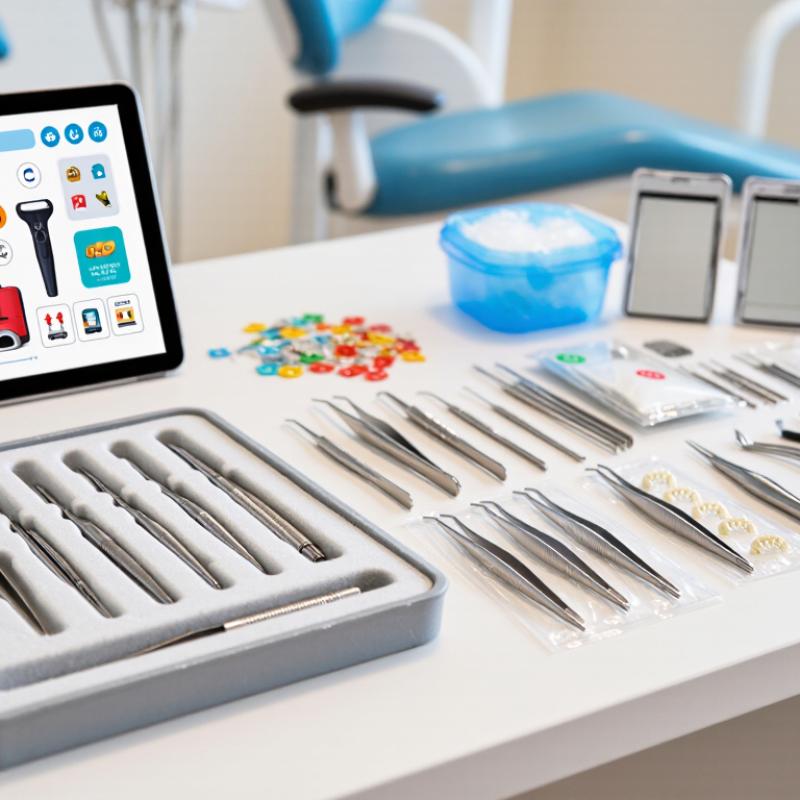
Choosing the right Orthodontic Kit in 2026 requires more than comparing prices or counting instruments. A reliable choice begins with the intended user, treatment setting, and level of clinical training. A student may need basic diagnostic tools, while an orthodontic practice may require brackets, archwires, ligature instruments, mirrors, and sterilization-compatible accessories. The difference matters.
Safety comes first.
Look closely at material quality, handle design, packaging, and traceability. Stainless steel should resist corrosion after repeated sterilization. Instruments should open smoothly, align accurately, and feel balanced during delicate adjustments. Disposable components need clear labeling, intact seals, and suitable storage instructions. Reputable suppliers should provide technical specifications, batch information, and evidence of quality control. Local professional standards may also influence what can be purchased, used, or maintained.
Real-world handling reveals weaknesses that product photographs hide. A tweezer that feels comfortable for five minutes may cause hand fatigue during a busy clinic session. A compact kit may travel well but omit an essential cutter or replacement part. No checklist is perfect. Personal experience can also be misleading without clinical guidance and documented evidence. For that reason, compare manufacturer information with advice from qualified orthodontic professionals, respected dental institutions, and current infection-control recommendations. In 2026, digital tracking, ergonomic construction, recyclable packaging, and transparent sourcing may improve purchasing decisions, but they should not replace clinical suitability. The best Orthodontic Kit is not always the largest or newest. It is the one that supports precise work, safe maintenance, and consistent patient care.
Define the Purpose and Scope of the Orthodontic Kit
Choosing the right orthodontic kit in 2026 starts with a precise question: What must this kit accomplish?
The World Health Organization’s Global Oral Health Status Report (2022) estimates that oral diseases affect nearly 3.5 billion people worldwide. This scale does not justify buying everything. It demands clear boundaries.
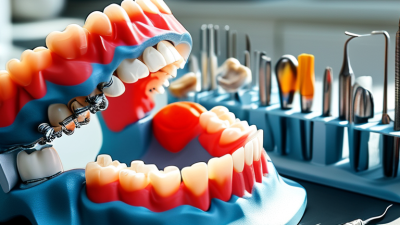
A diagnostic kit may need mirrors, probes, retractors, periodontal measuring tools, and photographic accessories. A bonding kit requires different instruments, isolation materials, curing equipment, and surface-preparation supplies. Mixing both purposes can create unnecessary cost and workflow confusion.
Define the setting, users, and patient types before comparing specifications.
The American Association of Orthodontists reports that more than four million people receive orthodontic treatment in the United States, with adults representing about one-quarter of patients.
Therefore, a clinic serving adults may need discreet documentation tools and flexible attachment procedures.
A high-volume clinic may prioritize duplicate instruments and faster sterilization cycles.
Check compatibility with existing trays, handpieces, imaging systems, and validated reprocessing procedures. Small details matter.
Do not overlook emergencies.
A loose bracket needs a different response from a broken archwire. Keep essential accessories visible and quickly reachable.
My practical mistake was treating “complete” as “appropriate.” It was not.
Review the kit after real appointments, record unused items, and question missing ones. The best scope may feel slightly incomplete, but it should support the defined procedure safely and consistently.
Evaluate Quality, Safety Standards, and Clinical Compatibility
How to Choose the Right Orthodontic Kit in 2026?
Evaluate Quality, Safety Standards, and Clinical Compatibility
A dependable orthodontic kit should withstand repeated clinical handling without losing precision. Quality becomes visible in the details: smooth instrument joints, secure grips, clear markings, and consistent dimensions. Check the packaging, lot number, expiry date, and storage instructions before opening. Look for documented material specifications and independent quality testing. Do not trust appearance alone. Ask whether the supplier provides traceability and responsive technical support. A low price can hide replacement costs, inconsistent performance, or missing documentation.
Safety requires more than a sealed package. Confirm that materials are suitable for oral use and supported by current safety documentation. Review sterilization instructions carefully, especially for reusable instruments. Sterility claims should include a defined method and validated handling limits. Read the instructions for use before clinical application. Some clinics skip this step. That assumption can create avoidable risks. Keep inspection records, staff training notes, and maintenance logs for reliable quality control.
Clinical compatibility starts with the patient and the treatment plan. Compare bracket dimensions, archwire systems, accessory sizes, and instrument functions with your existing workflow. A useful kit should support accurate placement, controlled force, and comfortable chairside access. Test the instruments during a simulated setup before treating patients. Patient age, enamel condition, allergies, and hygiene habits may also influence material selection. No kit fits every case. I would leave room for professional judgment, because a checklist cannot replace clinical experience. That small pause matters.
Assess Sterilization, Storage, Ergonomics, and Maintenance Needs
How to Choose the Right Orthodontic Kit in 2026?
A reliable orthodontic kit should support safe sterilization, practical storage, comfortable handling, and predictable maintenance. Check whether every reusable instrument tolerates your clinic’s approved cleaning and sterilization cycles. Hinges, mirrors, and fine tips need special attention because residue can remain in narrow spaces. Follow the manufacturer’s instructions and document each validated process.
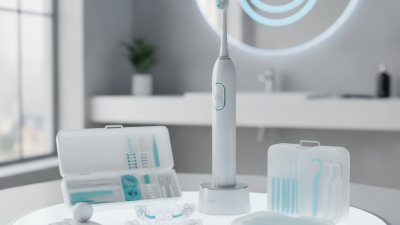
Storage should protect instruments from dust, moisture, and accidental impact. Look for a case with clear compartments and enough space for drying before packaging. Crowded trays create confusion and may increase handling damage. Ergonomics also matters. Test the grip with gloved hands, especially during longer adjustments. Instruments should feel balanced, not heavy at the working end. Small discomfort becomes significant after repeated procedures.
Tips:
Inspect joints before every session. Remove damaged pieces from service. Keep a simple maintenance log. Clean difficult areas immediately, not hours later. In my experience, teams often focus on the instrument count and overlook the case design. I made that mistake during a kit comparison. A compact case looked efficient, but its narrow channels slowed inspection and drying. Choose ease of checking over appearance. Maintenance should include lubrication when permitted, sharpness checks, hinge inspection, and replacement planning. Some kits seem economical until missing components interrupt routine work. Ask staff to trial the kit in real workflows, because a technically excellent set may still feel awkward in daily use.